
Have you ever had a brilliant idea, but didn’t know where to begin? Whether it’s a business, a blog, an app, or a creative pursuit, turning an idea into reality can feel overwhelming. But don’t worry—this guide is designed to walk you through each step of the process, especially if you’re just getting started.
Let’s break it down.
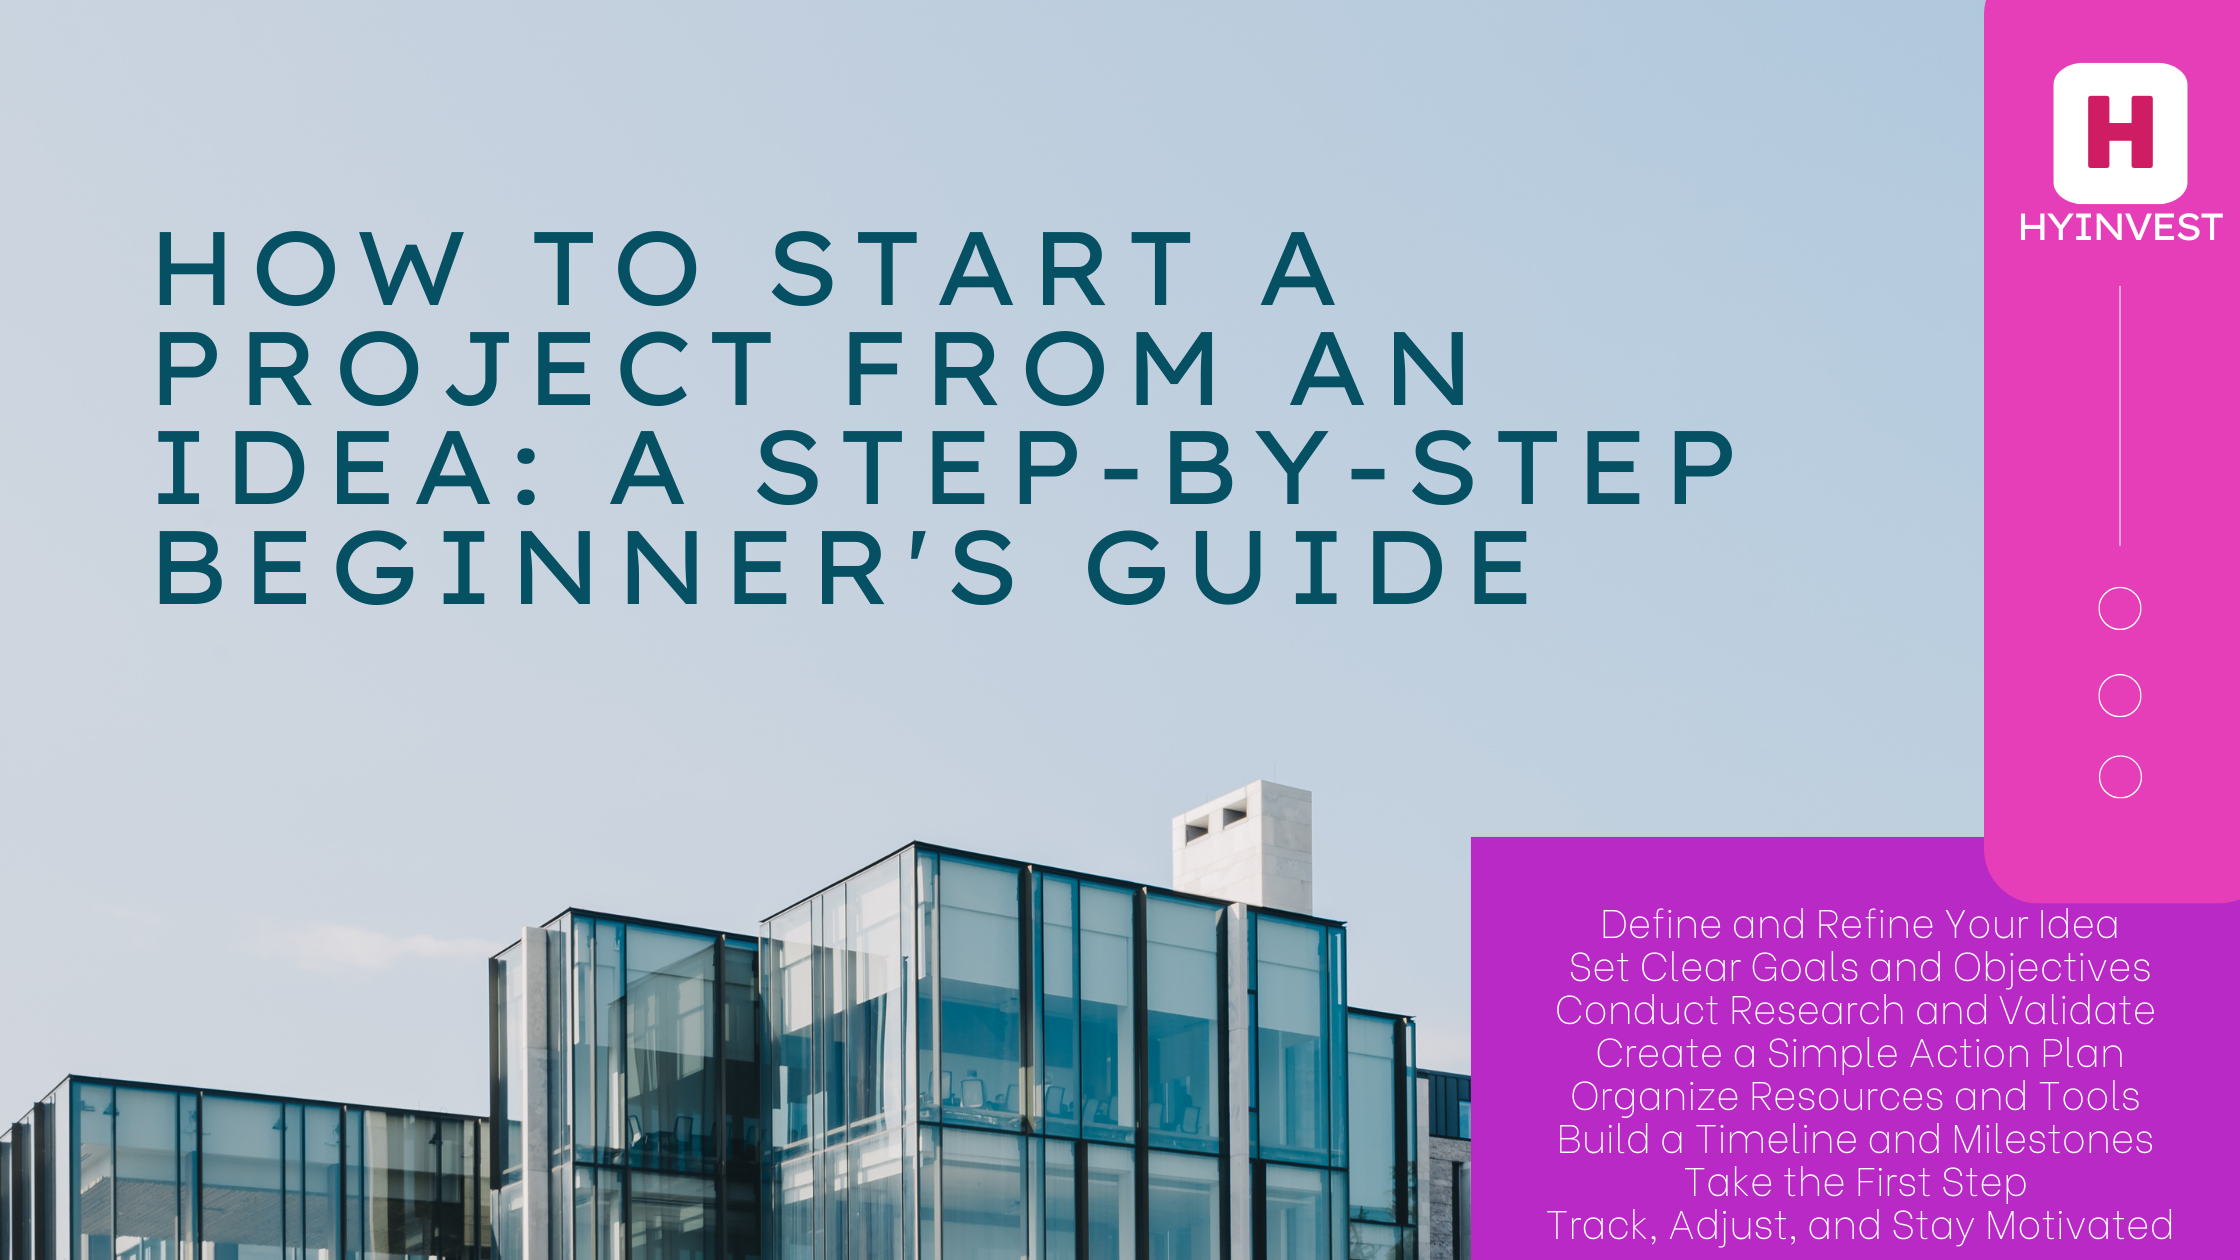
Step 1: Define and Refine Your Idea
Clarity is the foundation of every successful project. Start by answering these questions:
- What is my project about?
- Who is it for?
- What problem does it solve?
- What is the expected outcome?
Spend time brainstorming. Use a mind map or journal to explore your idea from different angles. Sometimes the raw version of your idea may not be viable—but a refined version could be gold.
Tip: Write a one-sentence summary of your idea. If you can’t do that yet, spend more time refining it. You should also consider creating a project vision statement to help align all future decisions.
Step 2: Set Clear Goals and Objectives
Once your idea is defined, turn it into a goal. Use the SMART framework gives you direction and helps prevent scope creep:
- Specific: Clearly state what you want to achieve
- Measurable: How will you track progress?
- Achievable: Is it realistic?
- Relevant: Does it align with your broader goals?
- Time-bound: When do you want to achieve it?
This gives you direction and helps prevent scope creep. A good project starts with well-defined outcomes. Consider setting both short-term and long-term objectives, and break your goals into phases.
Example: If your idea is a podcast, your short-term goal might be to publish your first episode, while your long-term goal might be to reach 1,000 listeners.
Step 3: Conduct Research and Validate Your Idea
Before investing time and resources, validate your idea to make sure there’s interest or a need before you proceed:
- Google it: Is someone already doing it? What can you do differently?
- Ask people: Friends, online forums (Reddit, Quora), or surveys.
- Use tools: Google Trends, Keyword Planner, AnswerThePublic.
This stage helps you avoid blind spots. Don’t be discouraged if your idea already exists—competition usually means there’s a market. Focus on your unique angle.
Goal: Make sure there’s interest or a need before you proceed.
Step 4: Create a Simple Action Plan
Break your project into small, manageable tasks:
- Define the first version of your project
- Identify the steps needed to get there
- List them in order
Use visual planning methods like Kanban boards or flowcharts. These can help you understand dependencies and bottlenecks early.
Tools to Use: Trello, Notion, Google Sheets, or pen and paper.
Keep it simple. Don’t over-plan. Action beats inaction.
Step 5: Organize Resources and Tools
Think about what you need to bring your project to life:
- People: Do you need a partner, mentor, freelancer, or community support?
- Money: What’s your budget? Can you bootstrap or need funding?
- Time: How much time can you realistically dedicate each week?
- Tools: Project management software, design tools, code editors, etc.
For many beginners, free tools can go a long way. Don’t get caught up in fancy software—focus on what actually helps you move forward.
Recommended free tools: Canva (design), Notion (planning), Google Drive (storage), Clockify (time tracking), Slack (team comms).
Step 6: Build a Timeline and Milestones
Set deadlines for each key task (gantt charts or basic calendar blocks). Don’t just write “launch project”; break it into:
- Research completed by [date]
- MVP finished by [date]
- First test/user feedback by [date]
Milestones help you track progress and stay motivated. Visual aids like Gantt charts or timeline templates (found on Notion or Excel) make this easier.
Tip: Leave room for delays—projects almost always take longer than expected.
Step 7: Take the First Step
This is where many people get stuck. Don’t aim for perfection—aim for momentum. Momentum builds confidence, and confidence fuels consistency.
Start with the smallest meaningful task: set up your workspace, create a logo, outline a blog post, or talk to a potential user.
Celebrate starting—most people don’t.
Step 8: Track, Adjust, and Stay Motivated
Projects evolve, and you shall stay flexible and motivated by celebrating small wins, track progress weekly and keeping your “why” front and center:
- What went well?
- What needs improvement?
- What’s the next step?
Bonus Tip: Share progress with a community, accountability partner, or online audience. The feedback (and even pressure) can push you further.
Also consider using habit trackers or productivity apps to maintain focus. Small daily efforts lead to big results.
Common Mistakes to Avoid
- Overplanning without acting
- Skipping validation
- Not setting a deadline
- Trying to do it all alone
- Giving up after the first setback
- Comparing your start to someone else’s middle
Mistakes are part of the process. The real failure is not starting.
Starting a project from an idea doesn’t have to be complicated. By breaking it into simple, actionable steps, you give your idea the best chance to succeed.
Stay focused, stay flexible, and most importantly—stay in motion.
Your idea deserves life.
What project idea are you working on? Share it in the comments below—we’d love to hear about it!
Keywords:how to start a project, project planning for beginners, turning an idea into a project, beginner project guide,
validate your idea, project planning tools, create a project timeline, start a project step-by-step
Leave a Reply